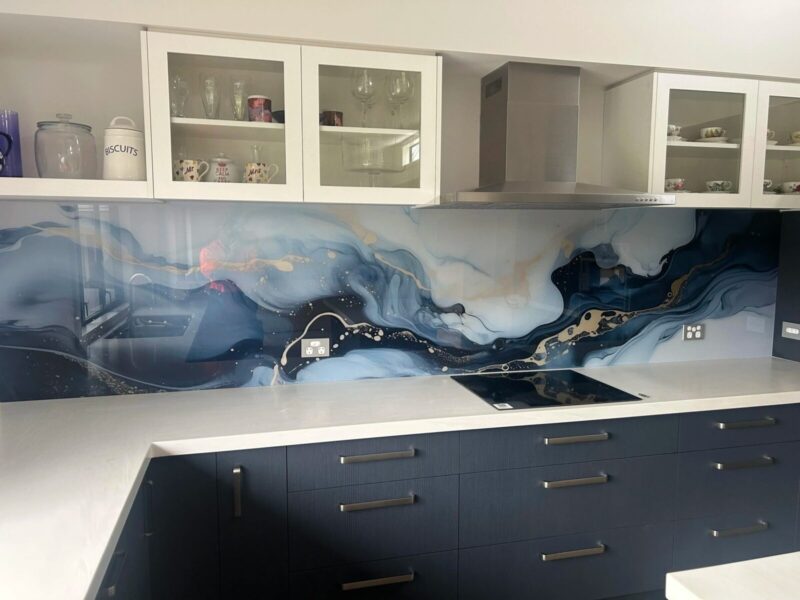
Kitchen splashbacks are one of the most effective ways to protect walls from cooking splashes, steam, and everyday marks. They also add a strong visual feature that can make the kitchen feel more modern and finished.
Once you have chosen the material, the next decision is how it will be installed. Adhesive bonding and screw fixing are the two most common methods, and each has advantages depending on your wall condition and design goals.
Adhesive bonding for a clean, seamless finish

Adhesive installation is popular because it creates a smooth, uninterrupted look. With kitchen splashbacks, bonding the panel directly to the wall means there are no visible fixings.
This method works especially well with glass, acrylic, and large panel systems. It gives the splashback a floating appearance and keeps the surface visually minimal.
The wall needs to be flat, dry, and properly prepared. If the wall is uneven, the splashback may not sit correctly and the adhesive may not spread evenly.
A specialist adhesive should always be used, especially with glass or mirrored panels. Some adhesives can damage mirror backing or cause discolouration, so correct product choice matters.
Once installed, bonded panels are harder to remove without damage. This makes accurate measuring and careful planning essential before fitting.
Screw fixing for flexibility and uneven walls
Screw fixing is another common option for kitchen splashbacks. It involves fixing the panel through pre drilled holes using screws and decorative caps.
This method can be useful if your wall is slightly uneven or if you want the ability to remove the splashback in the future. It can also help in situations where you are fitting over existing tiles.
With glass, holes must be drilled before the panel is toughened. This means the positions of fixings must be planned accurately at the ordering stage.
Screw caps are available in finishes such as chrome, brushed steel, and black. They can be matched to taps, handles, or appliance finishes for a cohesive look.
Care must be taken during installation to avoid overtightening. Too much pressure around fixing holes can create stress points and increase the risk of cracking.
Which option is best for your kitchen

The best method depends on the material, the wall condition, and the style you want. If you want the cleanest look possible, adhesive bonding is usually the preferred option.
If you have an older kitchen with walls that are not perfectly flat, screw fixing may offer a safer fit. It allows small adjustments and reduces the chance of the panel being forced into place.
Think about long term plans as well. If you are likely to change the kitchen again in a few years, screw fixing may make removal easier.
Also consider where the splashback will sit. Behind the hob, heat and expansion should be accounted for, and installation should follow the supplier guidance for safe clearances.
In many kitchens, a professional installer can advise on the best approach. A good fit and correct sealing will matter more than the method alone.
Conclusion
Kitchen splashbacks can be installed with adhesive for a seamless finish or with screws for flexibility and easier removal. Adhesive bonding looks cleaner, while screw fixing can handle uneven walls and allows future changes.
By choosing the right method for your wall and material, you ensure the splashback looks professional and performs well. A well installed splashback will stay secure, easy to clean, and visually impressive for years.